Update May 2024
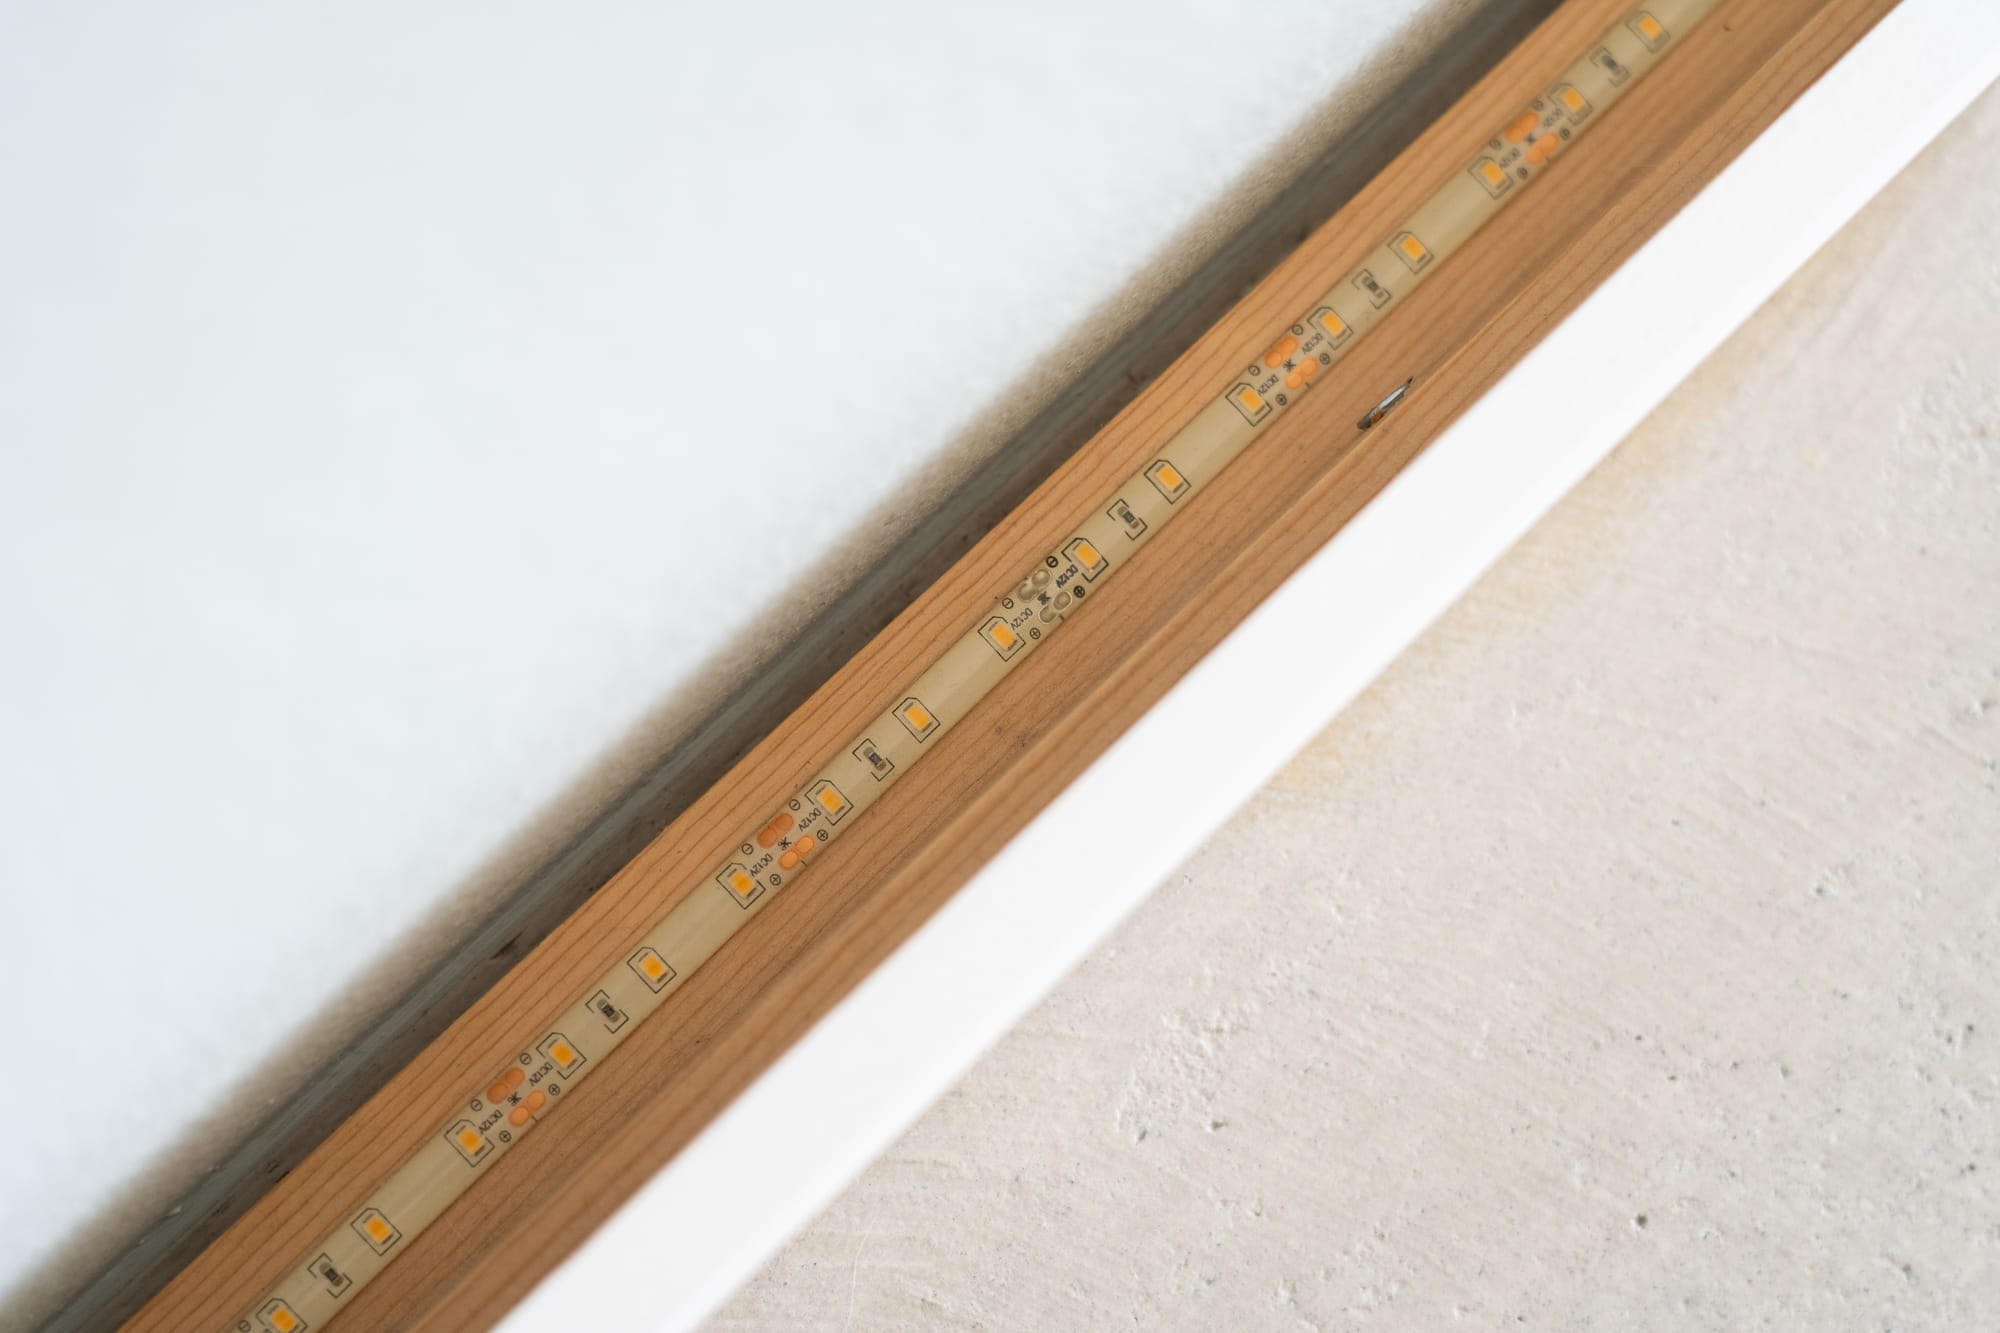
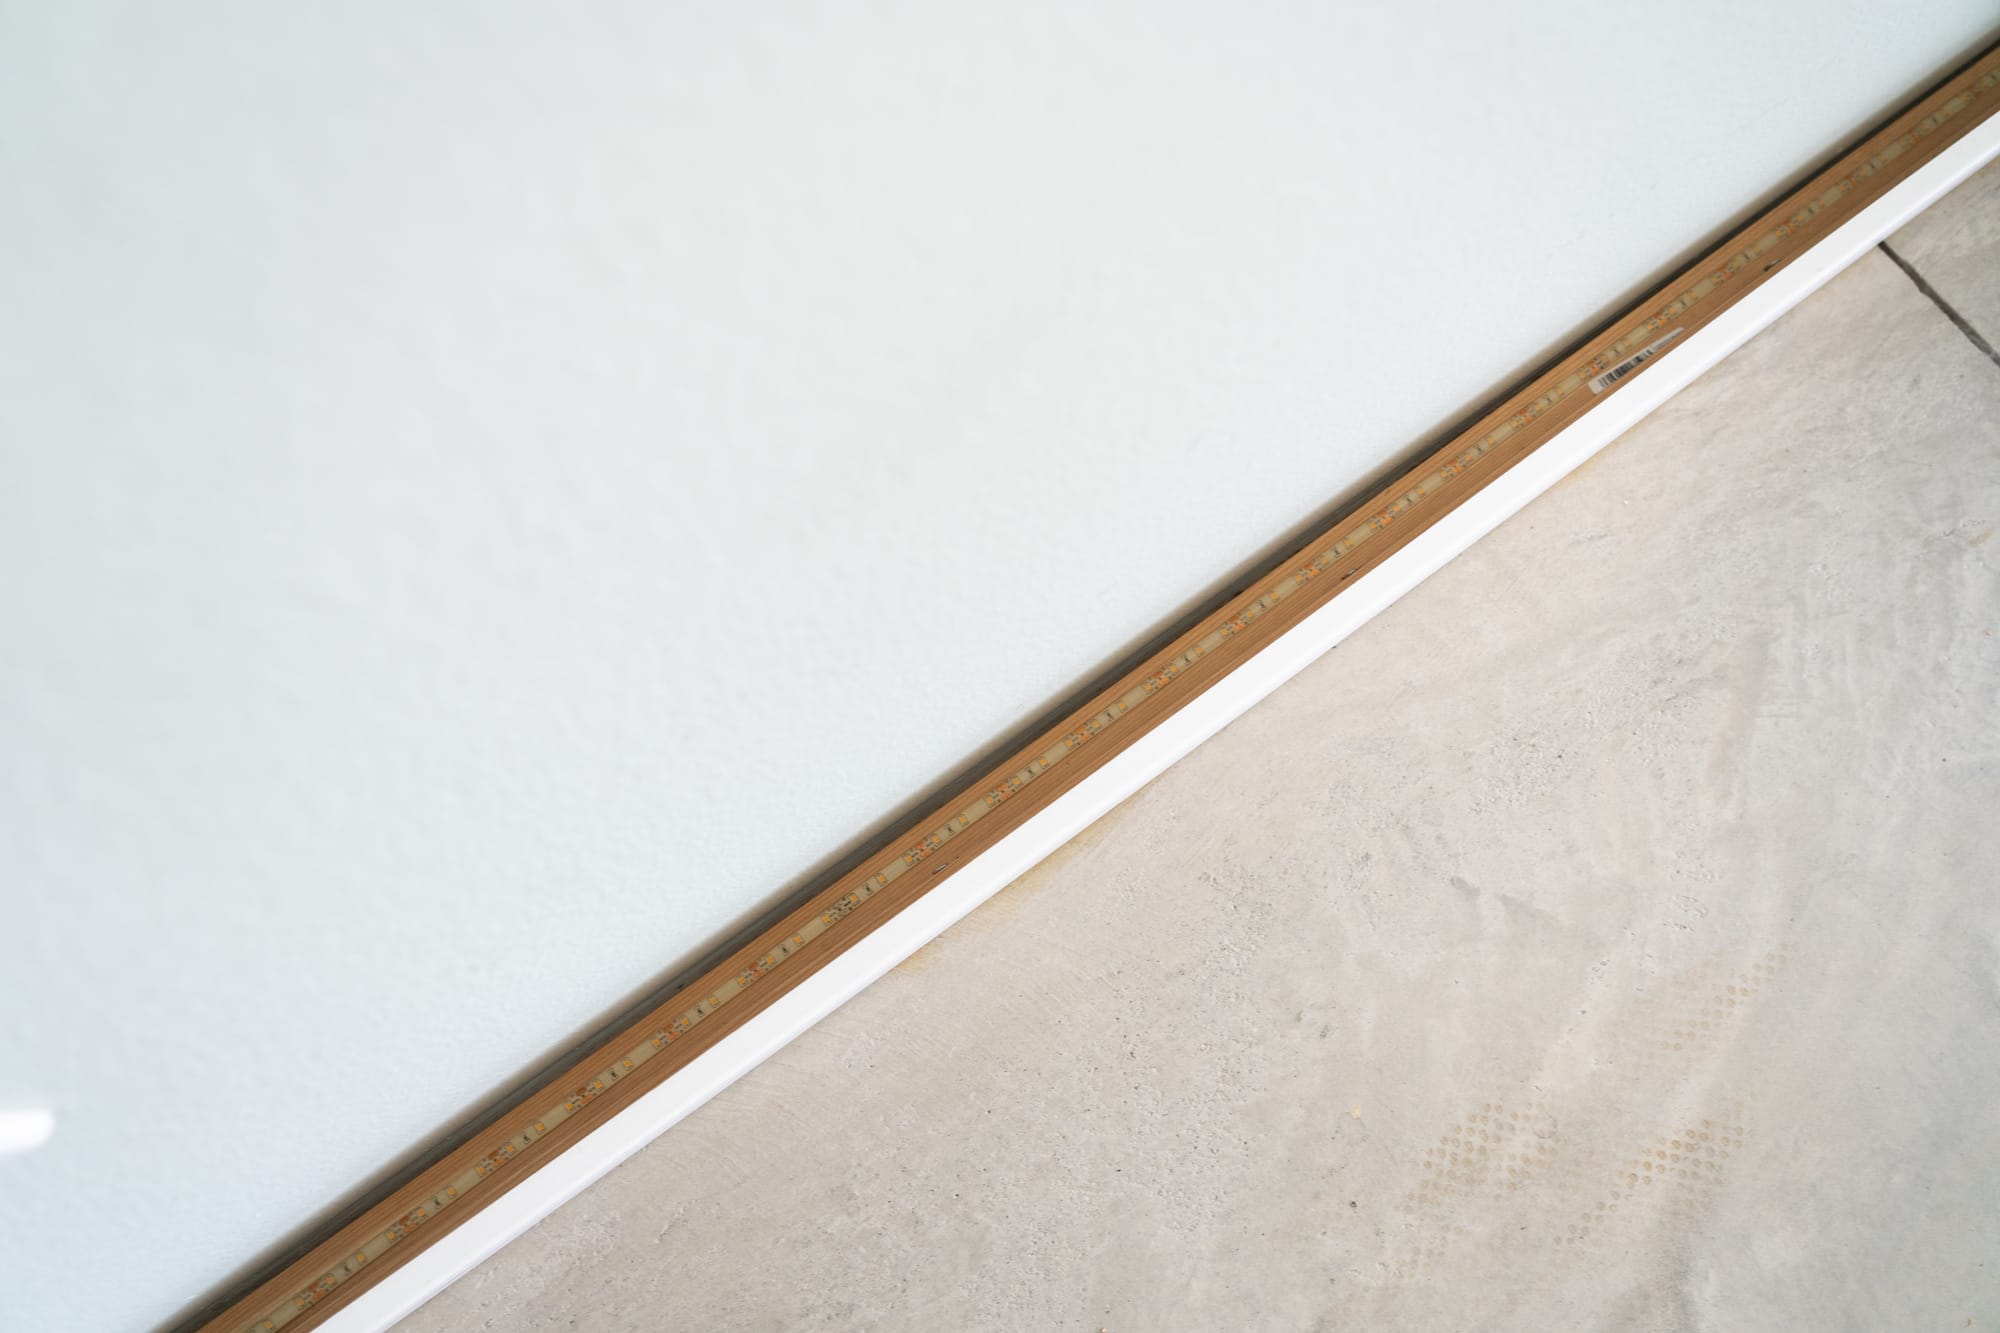
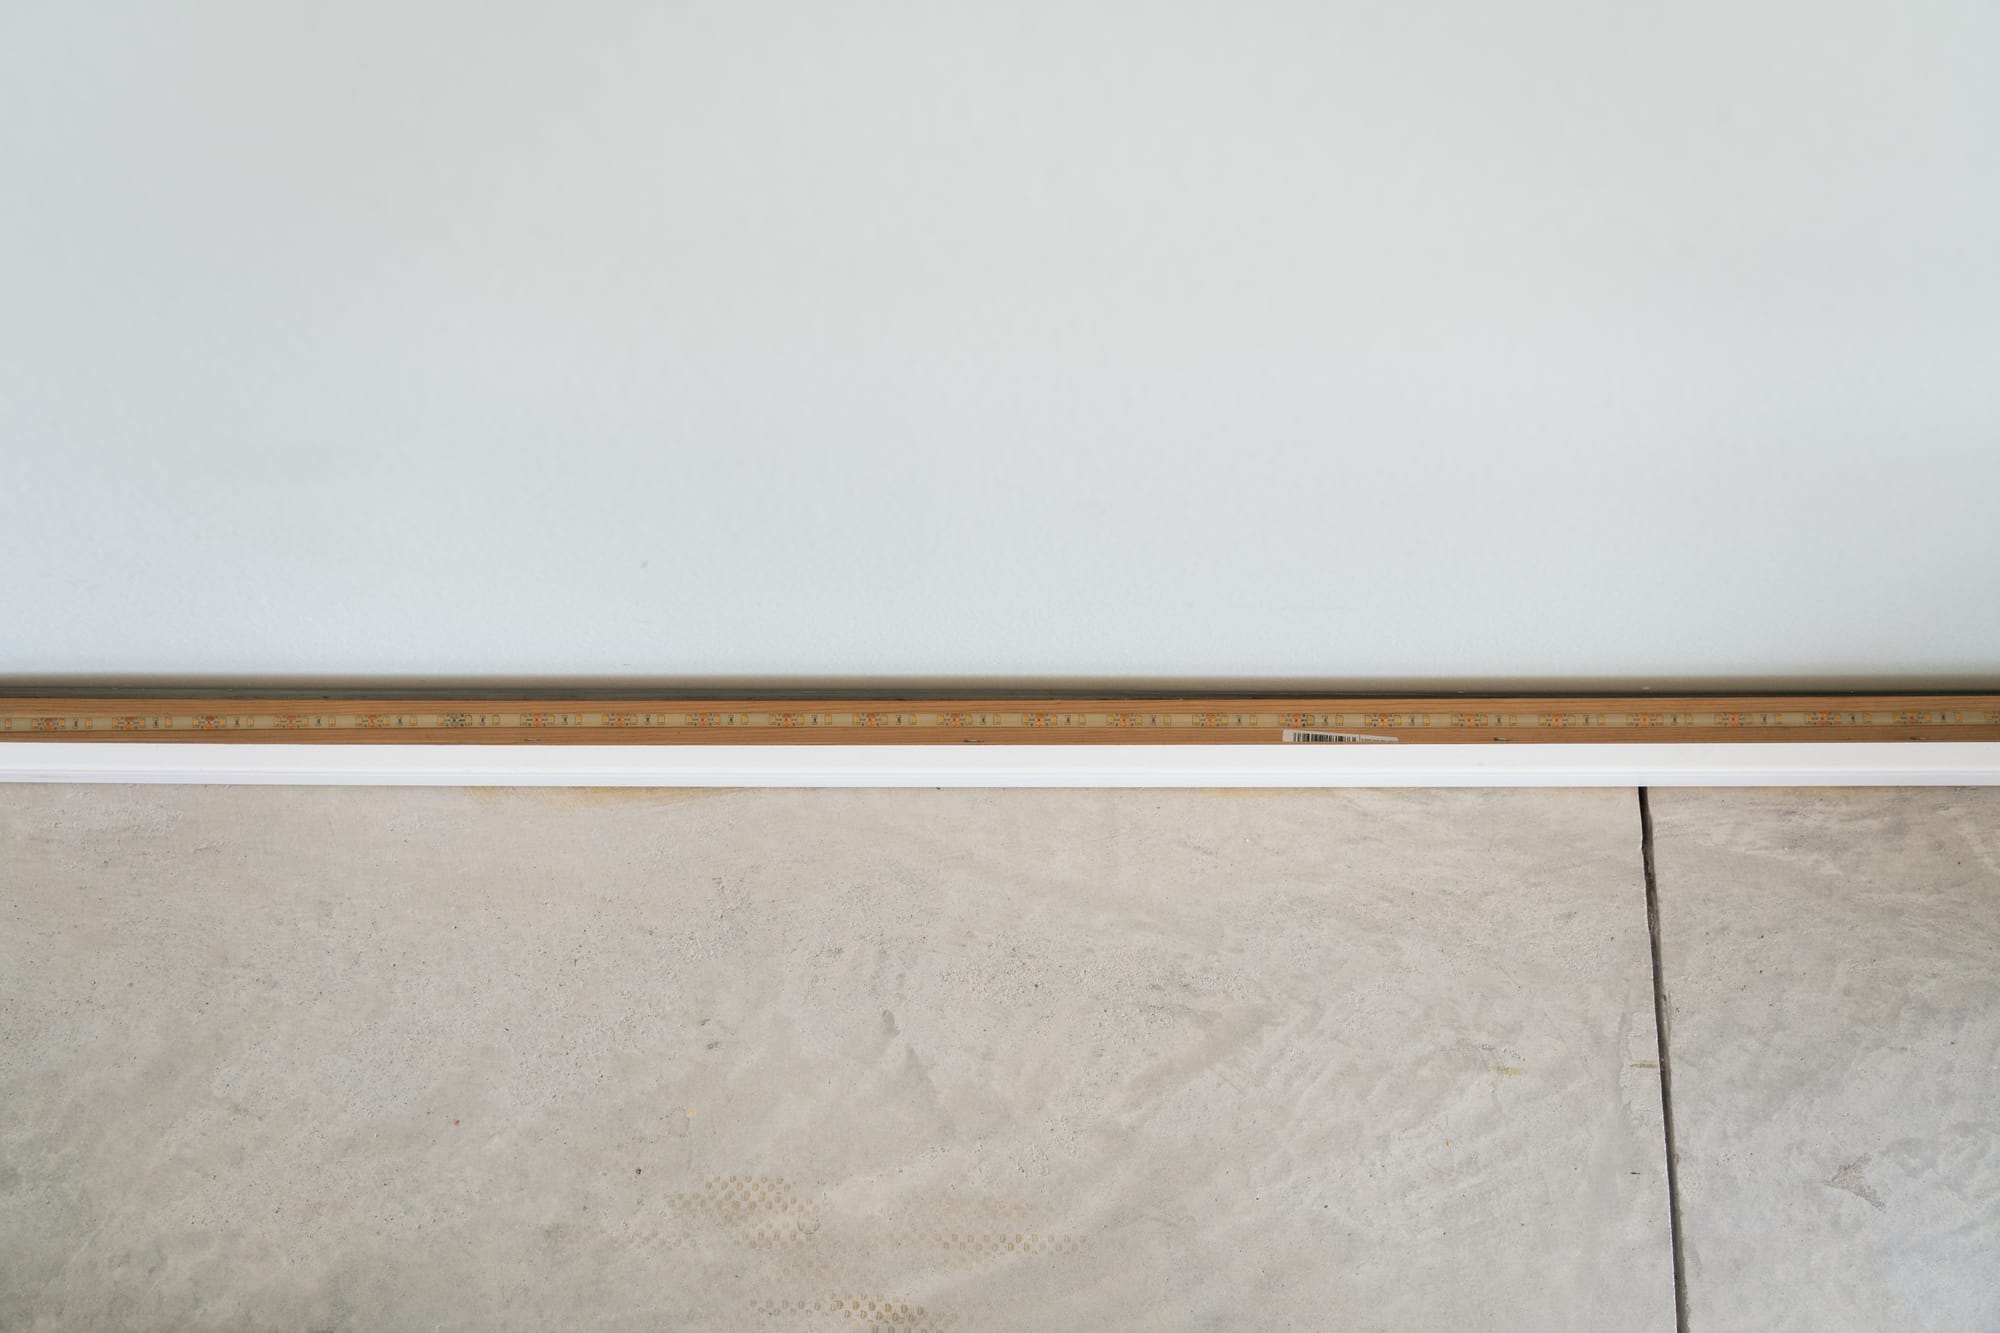
Some commenters on YouTube were curious about how the design has held up for cleaning. Two years later it's still doing great. It hasn't collected much dust. I've never really cleaned it. The only thing is that the white hair from my cat can collect in dust bunnies and roll back there. I just use the arm of a vacuum to grab them.


Here's a couple photos, which also show the gap between the baseboard and the wall. Since it's not attached to the wall, that gap is going to vary based on the bowing of your board, and the drywall that's not always straight. In my case, the gap at the thickest is about 8mm, and doesn't look far off the wall at a normal viewing angle.
Preventing Wood Splitting
Commenters have also pointed out that I should have drilled pilot holes to keep the wood from splitting. That's totally right. I didn't have drill bits at the time and just spaced on laying that out as the solution. I just picked up something like this. Thank you for pointing that out.
Quick tip to avoid the splitting of the wood. Drill pilot holes in the wood before using the wood screws. Pilot holes are drilled with drill bits that are typically the diameter of the screw minus the threads. Seems like more steps but it goes quick. And since the base board was mdf you only need the pilot holes in the wood.
-@boingooffroad
Project Materials:
🛒 Light Strip: link
🛒 Power Supply: link
🛒 Baseboard: link
🛒 Corner Moulding: link
🛒 Screws: link
🛒 Wire: link
🛒 Dimmer: (Broken link, I need to find a new one.)
🛒 Barrel Connector: link
My content remains independent through the use of affiliate links. That means, at no additional cost to you, I will earn a commission if you click through and make a purchase on some links.


